Gimkit Dashboard: Step-by-Step Guide on How to Use It
Introduction: Why Use the Gimkit Dashboard?
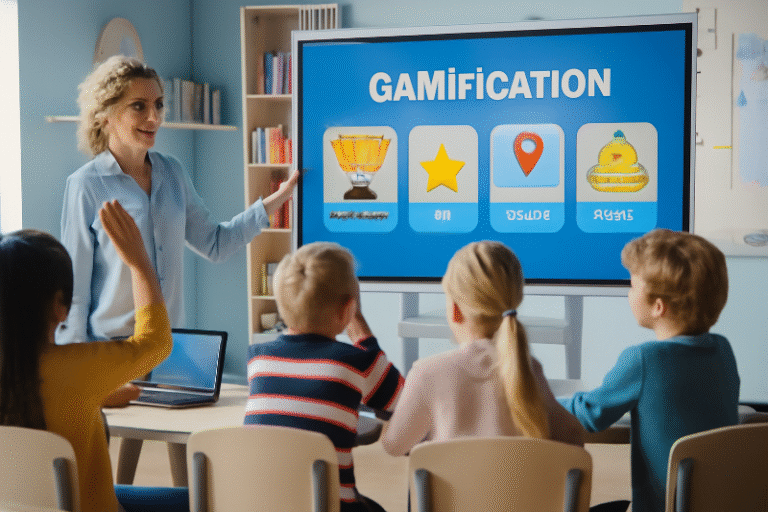
If you’re looking to add some serious fun and engagement to your classroom or remote learning setup, the Gimkit dashboard might just be your new best friend. Designed by students and educators alike, Gimkit transforms boring quizzes into interactive games that keep students hooked and motivated. Plus, it gives teachers powerful tools to track progress, tweak questions, and boost participation.
In this step-by-step guide, you’ll learn everything you need to confidently use the Gimkit dashboard—from signing up and creating your first quiz (or “Kit”) to launching live games and analyzing student performance. Let’s dive in!
What Is the Gimkit Dashboard?

Think of the Gimkit dashboard as your control center for gamified learning. It’s where you create, customize, and manage your quizzes (called Kits), choose exciting game modes, and view detailed reports on student progress. Gimkit isn’t just another quiz platform—it’s a dynamic, student-tested tool that blends learning with gameplay.
Here are some core features you’ll find on the dashboard:
- Kit Creation: Build quizzes from scratch, import from Quizlet or CSV, or use Gimkit’s extensive Question Bank.
- KitCollab: Collaborate with colleagues or students to build quizzes together. Check out our teacher’s guide to setting up your first Gimkit Home class for tips on collaboration.
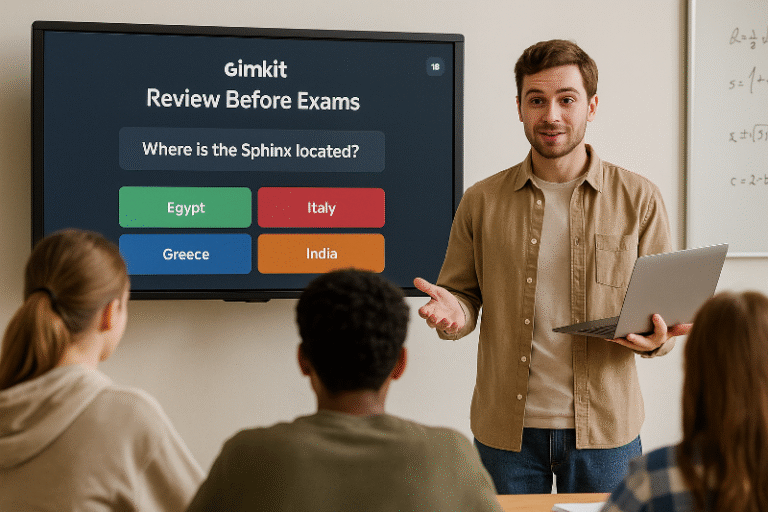
- Gimkit Live & Ink: Launch live quiz games or assign automatically graded homework and writing assignments. Learn more about how to host your first Gimkit game.
- Game Modes: Choose from various gameplay styles like Team Mode, Trust No One, and Humans vs. Zombies. For a deeper dive, see how to set up multiple game modes in Gimkit Host.
- Analytics: Get detailed insights into how your students are doing in real-time. Understanding the importance of teacher feedback can help you leverage these analytics better.
Step 1: Signing Up and Setting Up Your Account
Getting started is simple:
- Visit gimkit.com and click “Sign Up.” For detailed signup instructions, check out how to create, sign up, and log in to your Gimkit Home account.
- Select your school or educational institution from the list by entering your country and area code.
- Enter your grade level and subject area.
- Choose between Gimkit Live (for interactive games) or Gimkit Ink (for assignments and creative projects).
Once logged in, you’ll see your personalized dashboard with all the main tools ready to explore.
Tip: Spend a few minutes familiarizing yourself with the dashboard layout—knowing where everything is will save you time later.
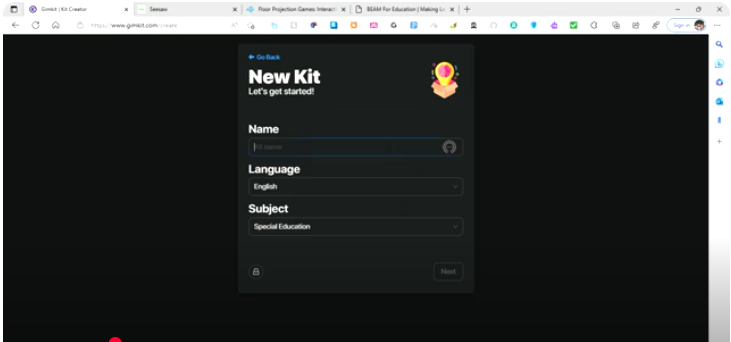
Step 2: Creating Your First Kit (Quiz)
Ready to build your quiz? Here’s how:

- Click “New Kit” on the dashboard.
- Give your Kit a name, select the language, and choose a topic.
- Upload a cover photo if you want to make it pop.
- Start adding questions! You can:
- Type questions manually.
- Use Flashcards to help create questions.
- Import questions from a spreadsheet or Quizlet.
- Use KitCollab to invite others to add questions.
- Pick questions from Gimkit’s Question Bank for quick setups.
When adding questions:
- Enter the question text.
- Add images or audio to engage different learning styles.
- Provide one correct answer and select three incorrect options (Gimkit even offers student-submitted wrong answers to make quizzes more realistic).
Hit “Finish Kit” when done. Your quiz is now ready to be played live or assigned as homework!
Step 3: Choosing Game Modes and Settings
Gimkit offers a variety of fun game modes to spice up your quizzes. Here’s a quick comparison:
| Game Mode | Description | Best For | Group Size | Difficulty Level |
|---|---|---|---|---|
| Classic | Basic quiz mode | Any classroom | Any | Easy |
| Team Mode | Students team up to answer questions | Group collaboration | Small to medium | Medium |
| Trust No One | Inspired by Among Us — figure out impostors | Engagement + critical thinking | Medium to large | Hard |
| The Floor is Lava | Avoid answering wrong or lose points | Energetic classes | Medium | Medium |
| Humans vs. Zombies | Survival style game mode | Competitive environments | Large | Hard |
| Infinity Mode | Endless gameplay | Long sessions or clubs | Any | Variable |
Pro Tip: Start with Classic or Team Mode if you’re new, then experiment with the others to keep things fresh. For more on game modes, visit this detailed guide.
Step 4: Launching Your Kit and Sharing the Game Code
Time to get your students playing!
- From your dashboard, click “Play Live.”
- Select your Kit and preferred game mode.
- The system generates a unique join code.
- Share this code with your students via LMS, email, or chat.
- Students head to gimkit.com/live, enter the code, and jump into the game.
Easy and interactive!
For strategies on engaging even shy or unmotivated students with these games, check out how to engage shy or unmotivated students with Gimkit games.
Step 5: Monitoring Student Progress & Using Analytics
After or during the game, check out the analytics dashboard:
- See average response times and accuracy for the whole class.
- Drill down to individual student performance.
- Identify tricky questions that need reteaching.
- Track streaks and engagement levels to adjust difficulty or content.
These insights help you personalize your teaching and better support every student’s learning journey. Learn about the top 10 benefits of using customizable quizzes to maximize these advantages.
Tips for Maximizing Your Gimkit Experience
- Add multimedia elements (images, sounds) to questions to cater to different learning styles.
- Use power-ups and in-game currency to motivate students and increase competition.
- Schedule themed Kits around holidays or current events to keep content relevant and fun.
- Try Gimkit Ink for collaborative writing projects to balance quizzes with creative learning.
- Discover 5 ways gamification in education is changing the classroom for more ideas on leveraging Gimkit.
Troubleshooting Common Dashboard Issues
- Can’t find your school during sign-up? Double-check spelling or try manual entry.
- Question import errors? Make sure your CSV files match Gimkit’s format exactly.
- Students can’t enter codes? Verify the game is live and codes are correct; check internet connection.
Frequently Asked Questions
What is the Gimkit dashboard?
How do I create a quiz on Gimkit?
What game modes can I use with my quizzes?
How do students join a Gimkit game?
Can I track student progress on the dashboard?
Is Gimkit free to use?
Conclusion: Master the Gimkit Dashboard & Revolutionize Your Classroom
The Gimkit dashboard isn’t just another edtech tool — it’s an engaging, data-rich platform designed to transform quizzes into interactive experiences that students love. By following these steps, you’ll have everything you need to create, launch, and track dynamic learning games that motivate and teach simultaneously.
For more ways to transform your remote classroom, see Remote Classroom with Gimkit Host.
So, why wait? Sign up, build your first Kit, and watch your classroom engagement soar!